
How to Use Your Original Hat Stackers
Learn how to easily prepare and get the most out of your new Hat Stacker. Watch the instruction video or follow the step by step instructions below.

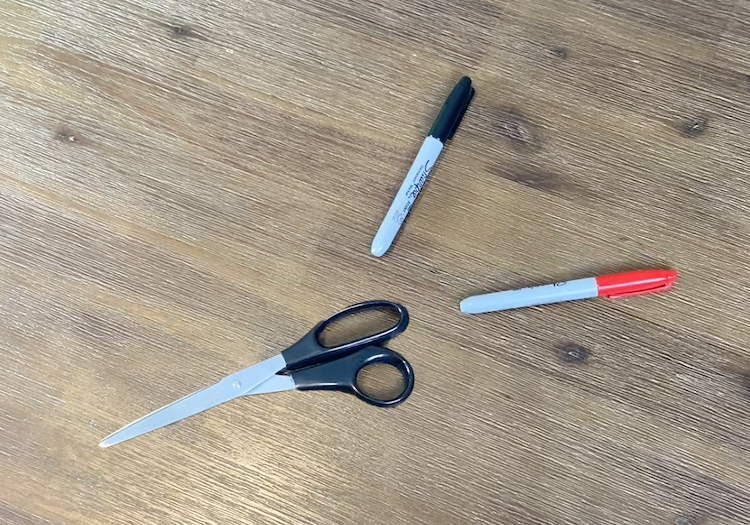
Step 1
Grab a marker, a pair of scissors, your favourite hat and your Original Hat Stacker. Go ahead and remove the packaging.
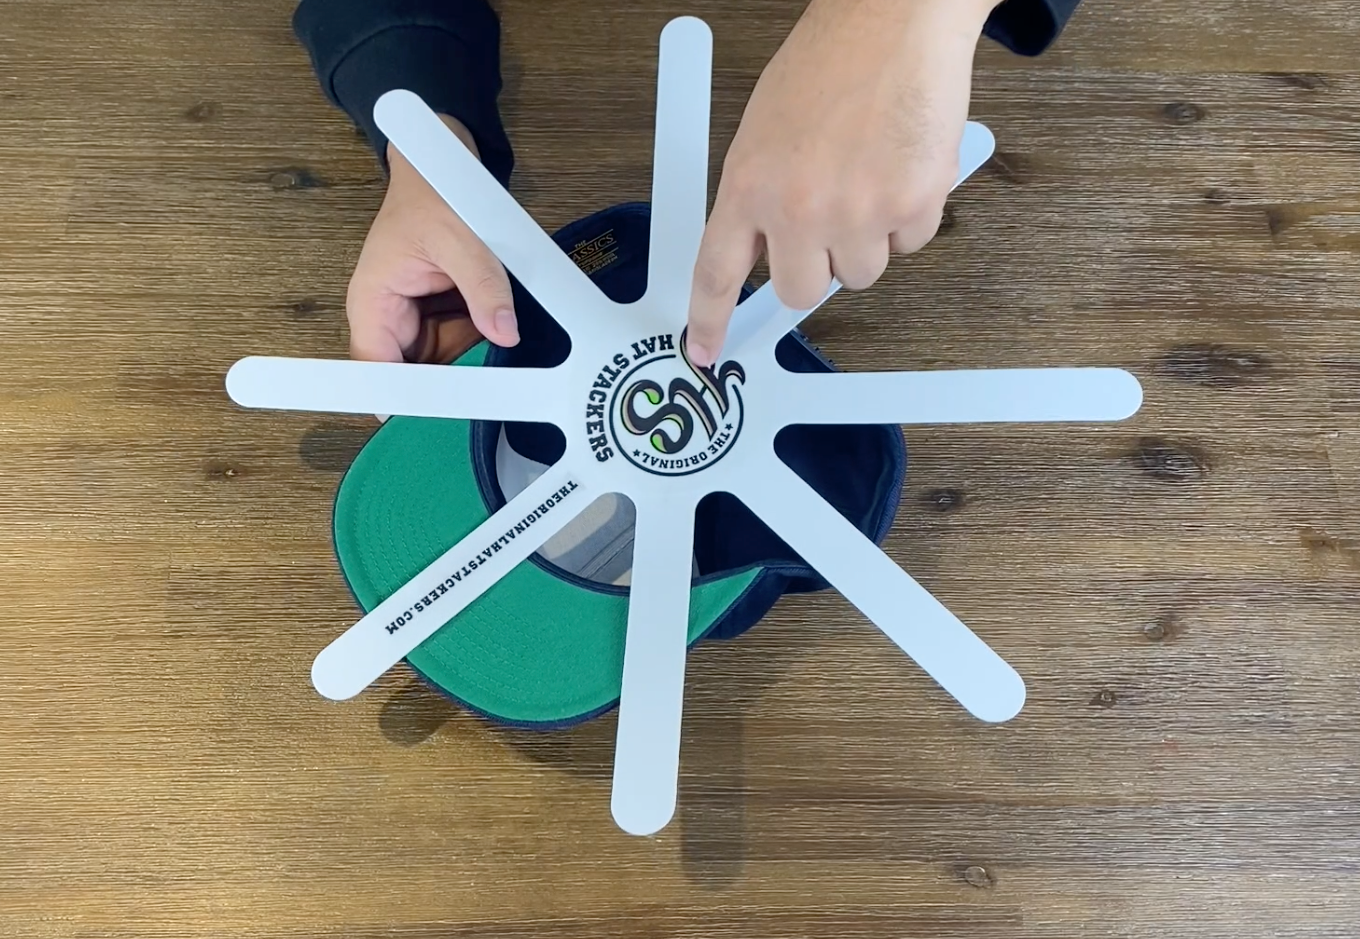
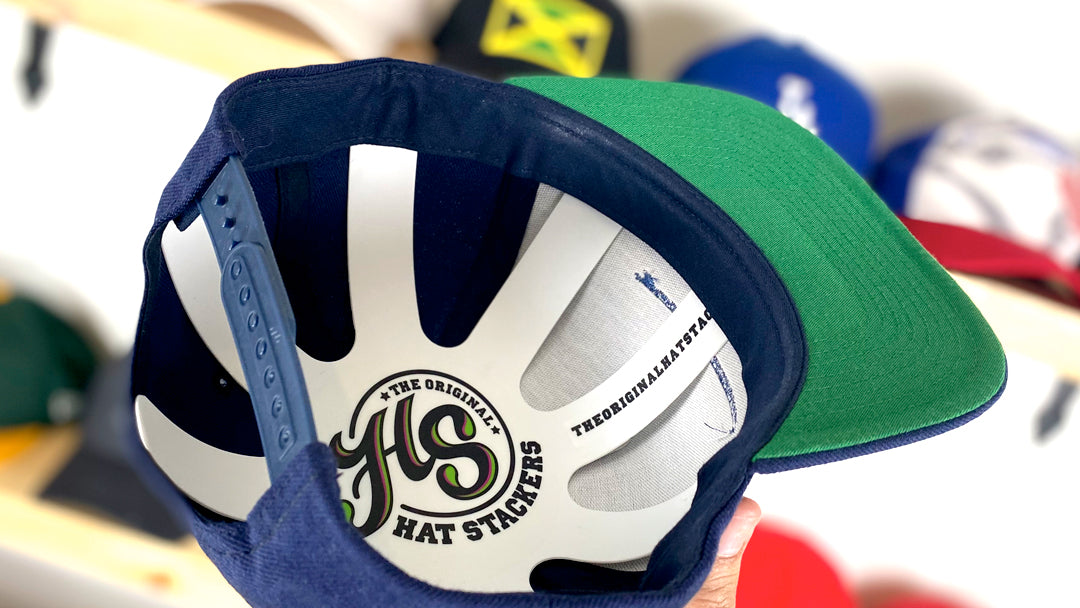
Step 2
Place the Original Hat Stacker on top of your hat, while lining up the first arm with the centre of your hat and push down on the logo to fit it inside your hat.
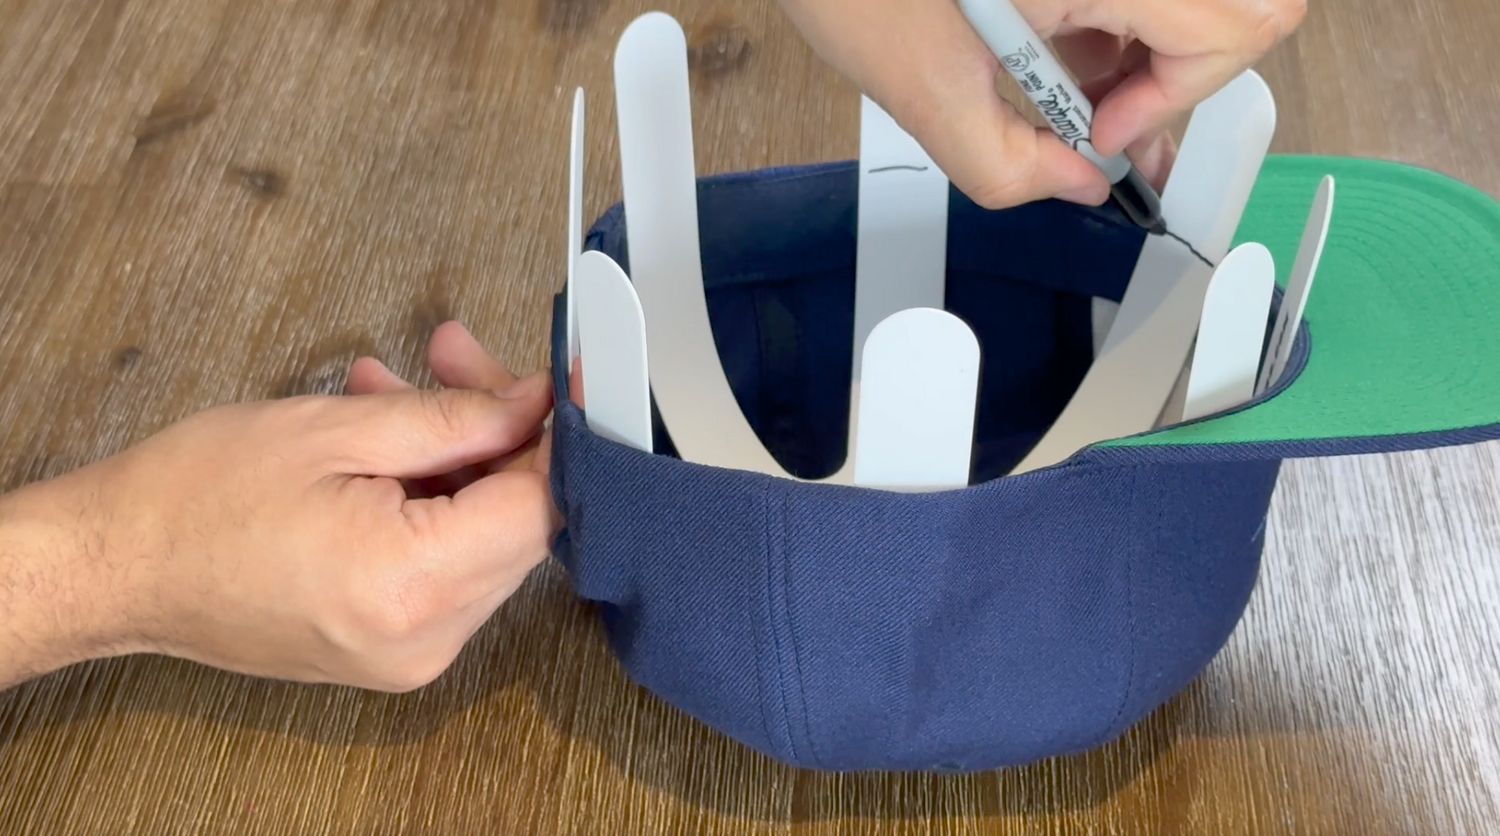
Step 3
Using the marker draw a line to mark each finger inside the edge of the hat where you'll cut your Original Hat Stacker down to fit your hat.
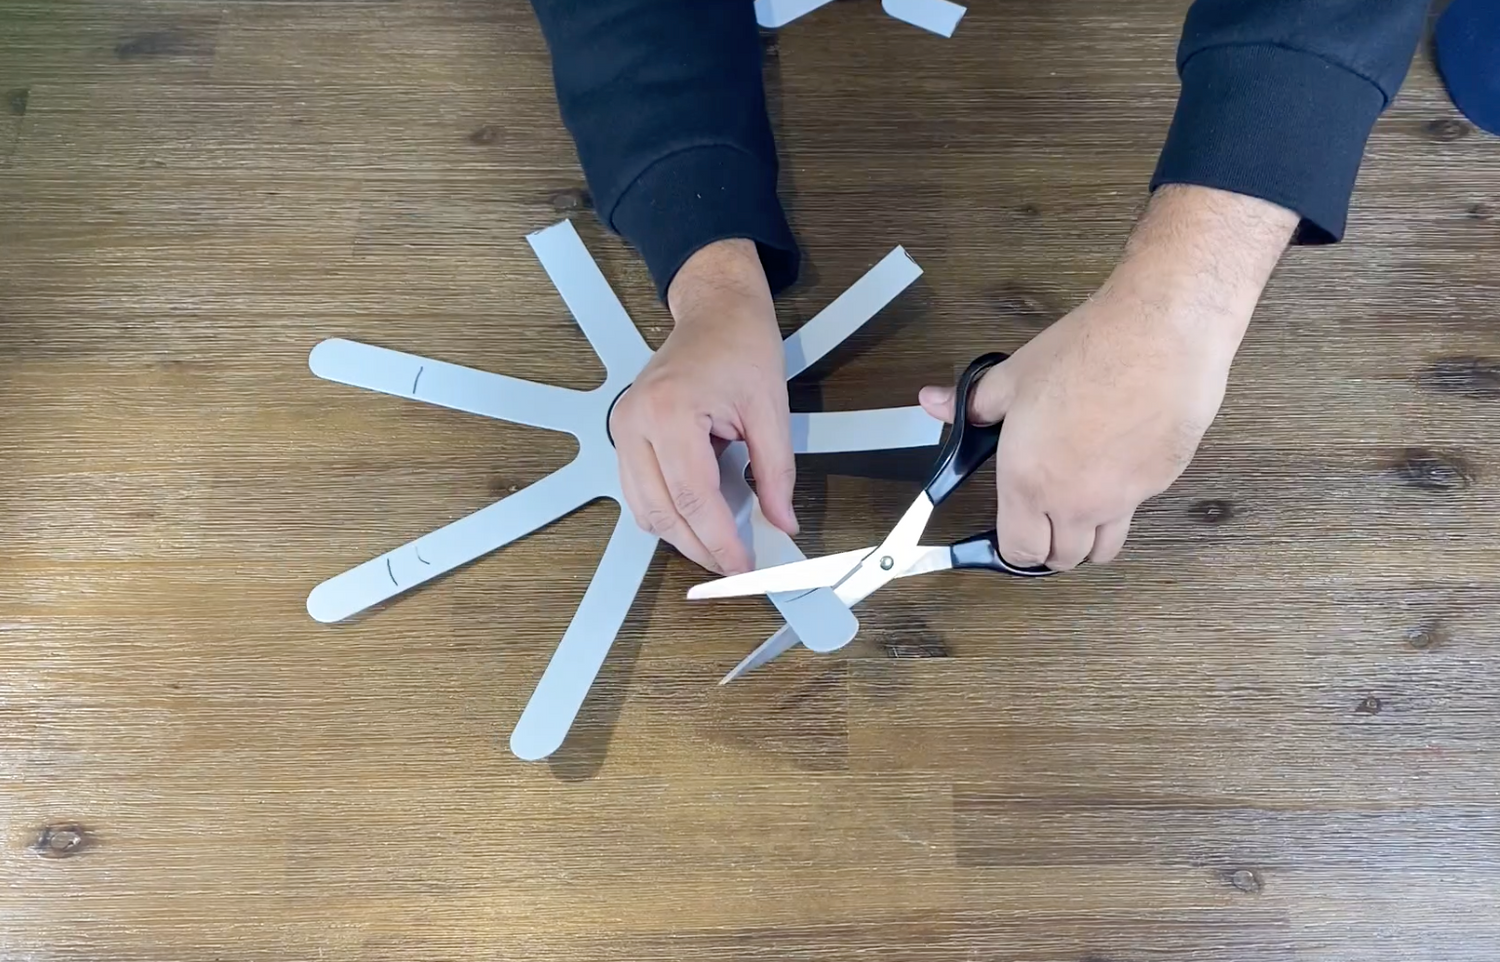
Step 4
Go ahead and cut each finger where you marked it to fit your hat. After you've cut them, use the scissors to round the edges to protect the fabric of your hat.

Step 5
Once you've finished trimming, place the Original Hat Stacker back on your hat and push down on the logo again to fit it inside your hat.
Step 6
Lastly, you'll want to secure the fingers under the sweatband of your hat to help hold it in place. And that's it, you're done!